Lace, Satin, Mesh & Microfiber: The Complete Guide to Lingerie Fabrics
From Chantilly lace to silky satin and invisible microfiber, learn how each lingerie fabric feels, performs and wears, and how to choose the right one for you.
Read articlePopular searches
Fit Guide
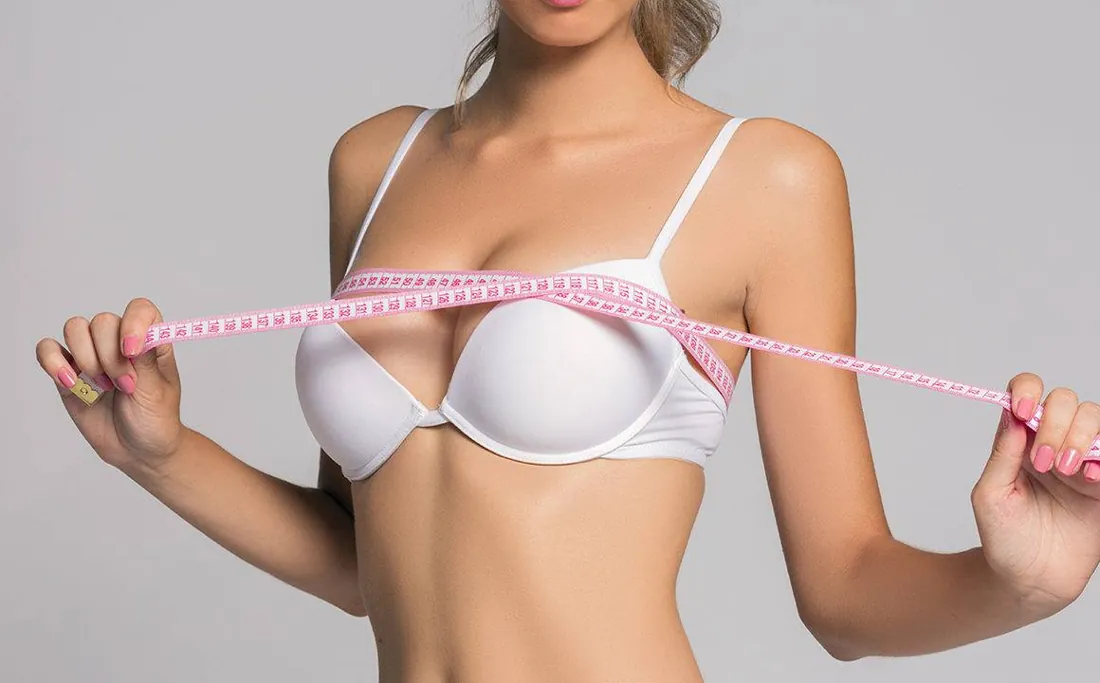
Most of us learned our bra size once, often in a hurry, and then carried that number around for years as if it were written in stone. But bodies are wonderfully changeable, and a size that fit perfectly three years ago may now be the reason your straps dig, your band rides up or your cups gape every time you lean forward. The good news is that you do not need a fitting room appointment to find your way back to comfort. With a soft tape measure, a mirror and about ten minutes, you can take accurate measurements at home.
This guide walks you through every step the way a fit stylist would: what to wear while measuring, how to take your band and bust numbers, how to turn them into a size, and, most importantly, how to confirm that size once a bra is actually on your body. Because the tape gives you a starting point, but the mirror always has the final word.
Measuring well is mostly about preparation. A few small choices make the difference between a number you can trust and one that sends you in the wrong direction.
Your band is the foundation of your bra. It provides roughly 80 percent of the support, while the straps do the rest, so getting this number right matters more than anything else.
Bra bands come in even numbers (30, 32, 34, 36 and so on). If your measurement is an odd number or a fraction, round to the nearest even number. If you land exactly between two sizes, for example 33, try both: the smaller band will feel more supportive, and the larger may feel more comfortable if your ribcage is sensitive or you prefer a softer hold.
You may have heard of an older method that adds four or five inches to the underbust measurement. That approach dates back to when bands were made from far less stretchy materials. With modern elastics it usually produces a band that is too loose, which is one of the most common reasons bras feel unsupportive. Most contemporary brands, including ours, work from your snug underbust measurement.
Your bust measurement tells you how much volume the cups need to hold.
If you have softer breast tissue, fuller breasts or have been through pregnancy and breastfeeding, try taking a second bust measurement while leaning forward at the waist so your torso is roughly parallel to the floor. This lets all your tissue fall into the tape and often reveals an extra inch or two. When the two numbers differ, use the larger one or an average of the two as your working bust measurement.
Stylist tip: Measure twice, a few minutes apart, and at the same time of day. If your two readings differ by more than an inch, take a third and use the middle value. Consistency beats precision to the quarter inch.
Your cup size is simply the difference between your bust measurement and your band size. Subtract the band (the rounded even number) from the bust measurement, then find the difference in the table below.
| Bust minus band (inches) | US cup size | Example |
|---|---|---|
| Less than 1" | AA | Band 32, bust 32 |
| 1" | A | Band 32, bust 33 |
| 2" | B | Band 34, bust 36 |
| 3" | C | Band 34, bust 37 |
| 4" | D | Band 36, bust 40 |
| 5" | DD / E | Band 32, bust 37 |
| 6" | DDD / F | Band 34, bust 40 |
| 7" | G | Band 30, bust 37 |
| 8" | H | Band 36, bust 44 |
| 9" | I | Band 32, bust 41 |
So if your snug underbust measures 33 1/2 inches, your band rounds to 34. If your bust measures 38 inches, the difference is 4 inches, which gives you a 34D. If you would rather skip the arithmetic, our size guide includes a bra size calculator that does the conversion for you and also shows equivalent European and UK sizes.
One important note: cup letters are not absolute. A D cup is not a fixed volume; it is always relative to the band. A 30D and a 40D hold very different amounts of breast tissue. That is why the idea that a D cup is "big" is a myth. Many people with slim frames wear D, E or F cups and look nothing like the stereotype.
Sister sizes are sizes that share the same cup volume but sit on a different band length. When you go down one band size, you go up one cup letter to keep the same volume, and vice versa. Knowing your sister sizes is incredibly useful when a style runs small or large, or when your usual size is sold out.
| Sister size down (tighter band) | Your size | Sister size up (looser band) |
|---|---|---|
| 30C | 32B | 34A |
| 32D | 34C | 36B |
| 32DD | 34D | 36C |
| 34DD | 36D | 38C |
| 36DD | 38D | 40C |
| 30DDD | 32DD | 34D |
Use sister sizes when the cups fit beautifully but the band feels wrong. If the band is too loose on the tightest hook but the cups are perfect, try one band size down and one cup size up. If the band is painfully tight but the cups are right, go one band up and one cup down.
Once you have a size, put on a bra and look closely. Each fit problem tells you something specific about what needs to change.
| What you notice | What it usually means | Try this |
|---|---|---|
| Band rides up at the back | Band is too loose | Go down a band size and up a cup (sister size) |
| Straps constantly slip off | Straps too loose or band too big | Tighten straps; if that fails, go down a band |
| Straps dig into shoulders | Band is not doing its share of the work | Try a firmer band; loosen straps slightly |
| Breast tissue spills over the top or sides | Cups too small | Go up one or two cup sizes |
| Wrinkles or empty space in the cups | Cups too big or wrong shape | Go down a cup, or try a different style |
| Center gore floats away from the chest | Cups too small or too shallow | Go up a cup size or try a plunge |
| Underwire sits on breast tissue at the sides | Cups too small or wire too narrow | Go up a cup, or try a wider-wired style |
| Band feels painfully tight | Band too small | Go up a band and down a cup |
Whenever you try on a new bra, run through these checks in front of a mirror. They take less than a minute and will tell you more than any tape measure.
The right bra should feel like it belongs to you: quietly supportive, easy to forget, and never something you count the hours to take off.
Finally, put a fitted T-shirt on over it. The cup edges should disappear under the fabric without a ridge, and your silhouette should look smooth and lifted rather than flattened or split.
Even with a perfectly calculated size, you may find that you wear a slightly different size across styles. That is completely normal, because each design distributes volume differently.
For a deeper look at which shapes suit which bodies, read our guide to bra styles.
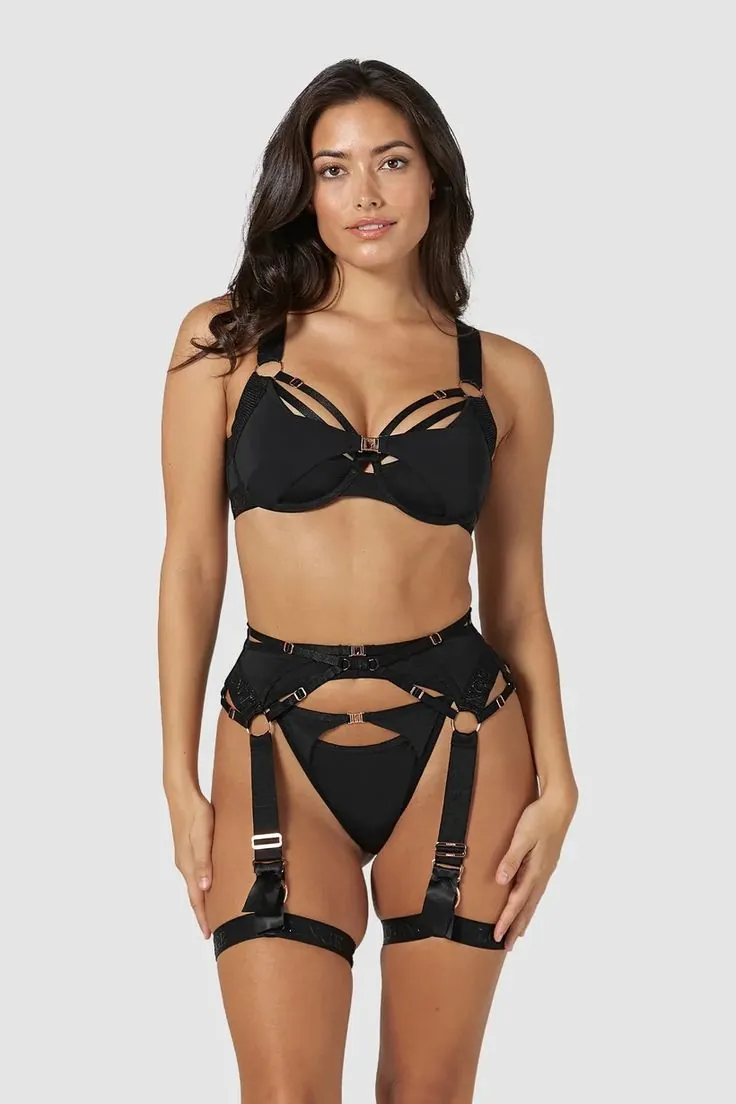
Your bra size is not a lifelong fact. It is a snapshot, and plenty of normal life events can shift it.
Many women notice their breasts feel fuller or more tender in the days before a period, sometimes by as much as a cup size. If that is you, it can help to keep one or two softer, stretchier bras, such as a lace bralette, for those days, rather than forcing a structured bra that feels tight.
Gaining or losing even a modest amount of weight can change both band and cup measurements. Breast tissue does not always change at the same rate as the rest of your body, so re-measure rather than assuming your size has shifted in a predictable direction.
Breasts often grow significantly during pregnancy, and ribcages can expand too. After breastfeeding ends, tissue frequently settles into a different shape and volume from before. Treat this as a fresh start: measure again once your body has settled, and expect your old size to be only a rough reference.
Over time, breast tissue naturally becomes softer and may sit lower, and hormonal changes around perimenopause and menopause can change size and shape as well. Softer tissue often benefits from the lean-forward measurement and from styles with a firmer band and more coverage at the sides.
Building muscle through the back, chest or shoulders can increase your underbust measurement while leaving your cup volume unchanged, which may move you into a sister size.
As a general rule, measure yourself at least once a year, and anytime one of these happens:
It also helps to know when a bra is simply worn out rather than the wrong size. If a band that once fit on the loosest hook now rides up even on the tightest, the elastic has likely lost its recovery. Gentle care makes a real difference here; our guide on how to wash lingerie explains how to keep elastic firmer for longer.
Stylist tip: Keep a note on your phone with your latest measurements, the date you took them and the size you wear in each of your favorite styles. It turns online shopping into a quick comparison instead of a guessing game.
Measuring your bra size at home is simple: a snug band measurement under the bust, a loose bust measurement across the fullest point, and the difference between them to find your cup. From there, sister sizes and the five-point fit check help you fine-tune each style so it feels as good as it looks. Remember that your size will change throughout your life, and that is nothing to fix, only something to follow.
Ready to put your new numbers to work? Double-check them with the calculator in our size guide, then explore the full Daffanny collection to find styles made to fit the body you have today.
Measure either without a bra or while wearing a well-fitting, unpadded bra. Padding and push-up styles add inches to the bust measurement and can lead you to the wrong cup size.
Round to the nearest even number, since bra bands come in even sizes. If you fall exactly between two, try both and choose the one that feels supportive without digging in.
Re-measure at least once a year, and anytime your weight changes, you become pregnant or finish breastfeeding, or your favorite bras suddenly stop feeling comfortable.
Keep reading
From Chantilly lace to silky satin and invisible microfiber, learn how each lingerie fabric feels, performs and wears, and how to choose the right one for you.
Read articleFrom plunge to balconette to strapless, learn what each bra style does, which one to wear with every neckline, and how to build a small lingerie wardrobe that covers everything.
Read articleModern shapewear should smooth and support, not squeeze. Here is how to choose the right control level, style, and size so your shapewear feels as good as it looks.
Read articleYour bag